Related Posts Plugin for WordPress, Blogger...
Visualizzazione post con etichetta Gluten free. Mostra tutti i post

Gluten free pie-crust with apricot jam and oil dough

>> 11 settembre 2012

© All rights reserved.

Hi gluten free friends,

this is a typical Italian simple pie, usually it is made with butter. Today I've used sunflour oil instead of butter.
Please note that the photos can be seen in the Italian recipe only, click on this LINK.

 
Ingredients:

  • 300 grams gluten free flour mix for cakes Mix Pâtisserie "Mix C" (brand: Schär)
  • 100 grams sunflour oil
  • 90 grams white caster sugar (the original recipe foresaw 100 grams)
  • 1 egg + 1 egg yolk  
  • 1 teaspoon of baking powder [*]
  • 1 coffee-cup of cow milk
  • the tip of a teaspoon of xanthan gum [*]
  • 1 pinch of salt
  • grated zest of half a lemon
  • 400 grams apricot jam [*]
  • Ø24cm round springform baking tin pan 

[*] all these ingredients must be clearly labelled as "gluten free" and/or "gluten and wheat free" so that this recipe could be safe for coealiacs.


Directions:

  1. In a large bowl combine flour and sugar, then, create a well in the center and put here all the other ingredients of the dough with the exception of milk and jam (of course).
  2. Start to mix them with the spatula until you obtain a classic "crumble".
  3. Then pour the mixture on the pastry board and mix it quickly with hands, adding a dash of milk a little at a time until you form a smooth dough-ball, fairly soft but not mushy (see the picture). The milk should be added when necessary in order to mix the ingredients better; just for information, at the end I used a little bit more than half a coffee-cup.
  4. Wrap the dough-ball with a plastic wrap and put it in the fridge for half an hour at least.
  5. Grease properly both the inner sides and the base of the baking tin with some sunflour oil (you can use a small pastry brush),if necessary, remove any excess of oil by means of some paper towel.
  6. Take a piece of dough from the dough-ball (keep the remaining dough in the fridge), put it between two sheets of baking paper and roll with a rolling pin. In order to obtain a good result: roll a little, rotate the sheets a quarter turn, roll a little more, rotate a quarter turn more etc. until the dough is approximately 7 millimetres thick. Roll until the diameter of the dough a little bit smaller than the base of the baking tin.
  7. Open the springform baking tin pan (detach the base from the ring).
  8. Overthrow the dough-disc into the base by helping with one of the baking paper sheet; this dough is less elastic than the one with butter, it may break a little, just try to repair the cracks.
  9. Mount the ring again.
  10. Take a piece of dough and create a small roll by rolling it under your fingers over the pastry board.
  11. Put this roll against the inner side of the baking tin, forming an edge of dough all around the base (approx height: 1.5 centimetres).
  12. Sprinkle the apricot jam on the base of the pie and spread evenly with a spoon or a spatula.
  13. Preheat the oven (180°C)
  14. Get some decorations (half moons, suns, stripes .... etc.) from the remaining dough and put them on the apricot jam.
  15. Bake at 180°C for 35 minutes (time may vary from oven to oven)
  16. Let cool completely before removing from the baking tin pan and cutting.
  17. It's a pie that crumbles a little but I hope that you could enjoy it for breakfast or a snack.
NOTE: if you do not use all the dough, you can roll with a rolling pin and obtain some cookies (remember to put the dough between two sheets of baking paper) or freeze the dough for any future use. 

© All rights reserved.
.

Read more...

Gluten free homemade pasta

>> 27 gennaio 2010

© All rights reserved


Are you celiac? Do you like homemade pasta? Do not worry, you can continue to prepare and eat homemade pasta by using a special gluten free flour mix made by the Italian Company "BiAglut". To be celiac do not mean to renounce to good Italian food.
I've tested this gluten free flour in making the fresh homemade pasta and the result was very good.
It's often easier to buy pasta in a store but it's much more nice to make it by yourself!

Ingredients for two people:
  • 200 grams gluten-free flour, brand: BiAglut (web site is here), [*]
  • 2 eggs
  • some gluten free rice flour [*]
  • a pinch of salt
  • some water
[*] all these ingredients must be clearly labelled as "gluten free" and/or "gluten and wheat free" so that this recipe could be safe for coealiacs.

By the way BiAglut gluten free flour, look at this LINK for more info about this product.

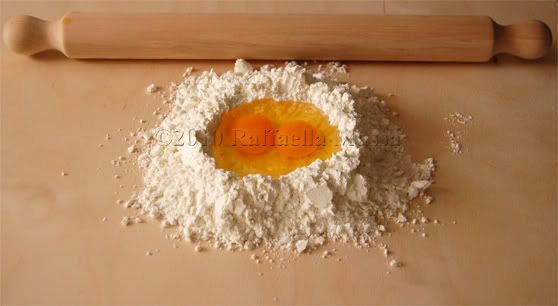
  • place the BiAglut flour on a wood board or work surface and make a well in the centre, pour the eggs into the hole. Add a pinch of salt.
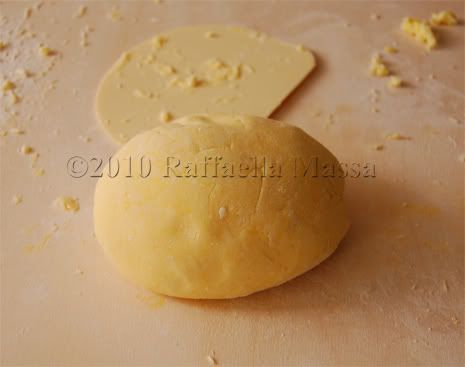
  • work the flour and the eggs together firstly with a fork and then with a plastic spatula (like the one in the photo).
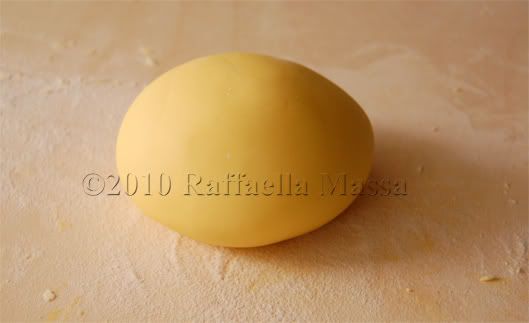
  • using your hands, mix the ingredients together, incorporating little by little, until everything is combined (adding just a drop of water if necessary and no more). Knead the pieces of dough together; firstly the dough is sticky but, while you continue to knead, it becomes smooth. Knead it for some minutes until it become perfectly smooth like in the photo. In order to avoid that the dough glues to the wood board, put some rice flour on the surface of the board.

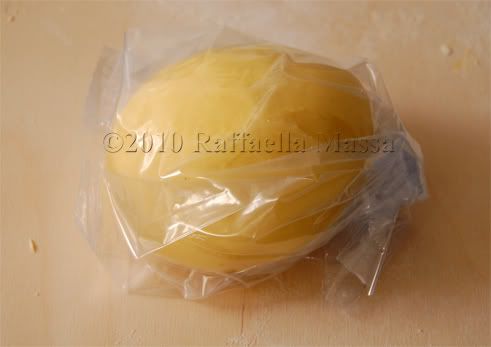
  • put the dough into a plastic bag because the gluten free flour dries rapidly.
  • separate the dough into two pieces (while you work the first piece, remember to keep the second one in the plastic bag).
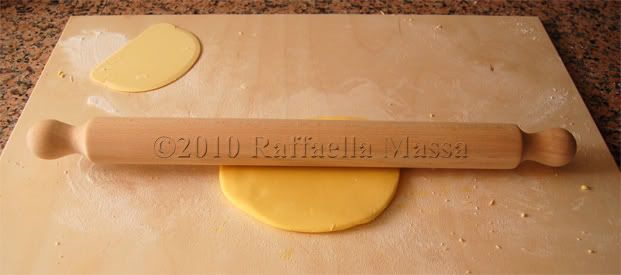
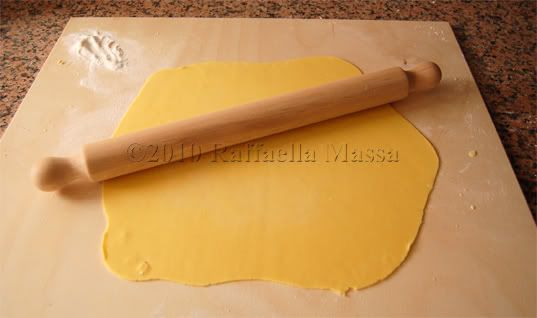
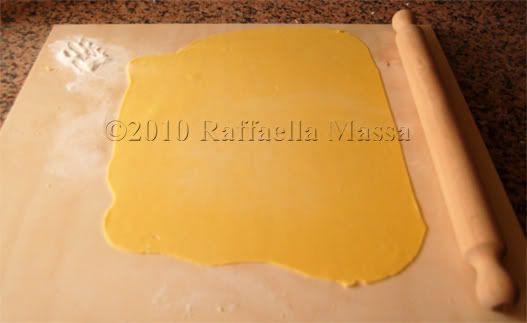
  • flour your work surface with some rice flour and start to roll out one of the two pieces of the dough with a rolling pin. Roll from the middle, flouring the surface with rice flour in case of need. Flip over the dough sometimes and continue to roll until you obtain a sheet with circular shape and desired thickness (look at the photos).
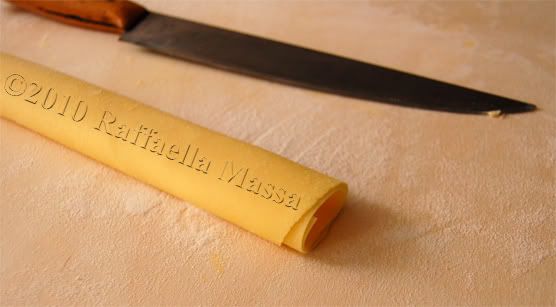
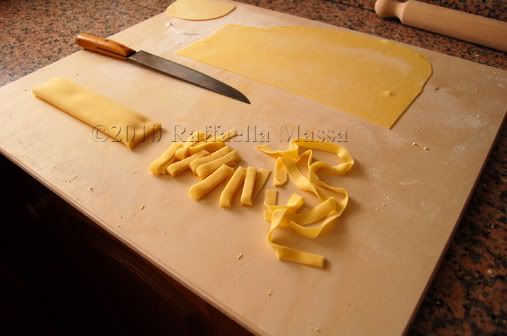
  • flour both faces of the sheet with some rice flour and roll up the sheet on itself, cut the sheet into some strips (width: 6.0 mm.) with a sharp blade like in the photo. Well done, you've just obtained the famous Italian "Tagliatelle".
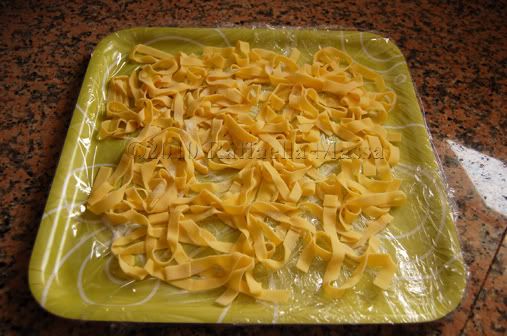
  • shake the strips one by one with your hands to free them.
  • put some rice flour on a server and put the strips on it (you can put some rice flour over to avoid that the strips stick each other).
  • rool out the second piece of the dough as you did the first.
  • heat some water in a big pan, salt it when boiling and pour your homemade pasta into it (before pouring it, remember to remove the most of rice flour).
  • since it is fresh, it will cook in few minutes. When the pasta comes to the surface, taste it in order to check if it's ready or if it's necessary to cook for some minutes more. Keep in mind that, tasting the pasta from time to time, might help to find your personal cooking time. Do not let it overcook!
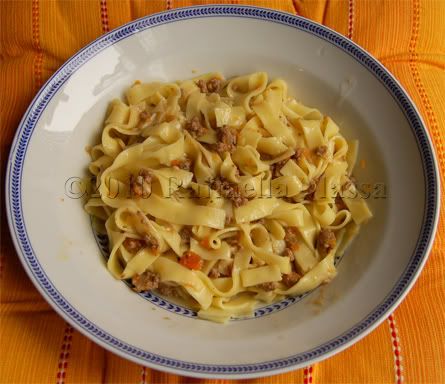
  • strain the pasta and season it with the sauce and some raped Parmigiano Reggiano ........ yummmmmmmm!

NOTE:
if you have prepared a big quantity of Tagliatelle and you don't want to cook all, you can well dry them in a fresh place for 1-2 days and then use it in the following days/weeks.

© All rights reserved
.


Read more...

LinkWithin

  © Blogger template Simple n' Sweet by Ourblogtemplates.com 2009

Back to TOP